Here is an easy way to use plain, BORING webbing to make a pretty belt that is adjustable-- OR Use the "Covering" directions to make sturdy Tote Straps that won't stretch!
Supplies Needed:
(2) 1" "D" Rings
1" Belt webbing:
-- measure around "you" where you wear a belt and add 8"
(most people where belts a little below waist--)
example: If you are 32" around (I wish!) cut webbing 40"
(piece together if necessary) 2" longer than Belt webbing:
example: If webbing length is 40", then 3" x 42" fabric strip
* It is possible to use 2 1/2" strips but you will have to be very careful when sewing!

1. Press under 1/4" LONG side of fabric strip

2. Press under 1/2" Both NARROW edges.

3. Pin webbing to center of wrong side of strip--
placing narrow 1/2" fold OVER the webbing on one end

4. Folding in raw edge first, then pulling over the 1/4" folded LONG side of fabric strip--Stitch across one narrow end securing webbing inside the fabric strip.


5. Folding in raw edge first, pull over the 1/4" folded long edge and Stitch down the middle of the webbing--removing the pins as you go--(Some may want to pin the folded fabric in place before stitching)
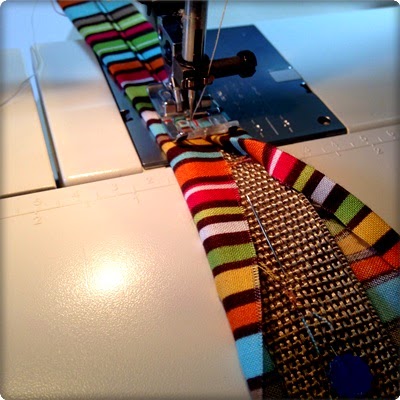
6. When you come to the bottom of the webbing you will have about an inch or so of fabric extra with another 1/2" fold:
Finish stitching to the end and th ensew across narrow end as you did in step 4--
--there will be a short segment of belt with no webbing in it :)
7. Topstitch down the length as many times as you want!

8. Take the flimsy "fabric only" end and slip through 2 D rings as shown--D rings should be next to webbing with the thinner end of fabric folded over (See! less bulk when sewing on the D rings!)

9. Stitch across end of belt as shown below--then stitch across again as close to the D rings as you can get!


You can thread the Belt End to the Outside and slip end through a belt loop or thread it on the inside for a neater look!-