Showing posts with label small projects. Show all posts

Wednesday, January 6, 2016

Treat Yourself!

or make a special treasure for someone you treasure.
Over the years I have seen several variations of a "teacup pincushion"-- Pretty much a circle of fabric stuffed and glued into a pretty teacup--with a very pleasing result--
Today I want to share an idea (with tutorial) that happened to stumble into my Facebook Feed (Funny how that happens!)
It's a TEAPOT SEWING KIT!
http://www.hometalk.com/8552143/vintage-teapot-sewing-caddy-with-hidden-pincushion?utm_medium=facebook&date=20160102
What a wonderful way to use even a damaged teapot--
Pins and needles in the top and other sewing essentials tucked inside!


(or click on the teapot picture!)

Tuesday, November 17, 2015

Sew very SWEET BOOKS!

These are IN STOCK now in the shop!


We love quality Children's Books--and these 2 new paperback books have adorable pictures and catchy rhymes!

It's a wonderful idea to have a plot involve SEWING and QUILTING--Sweet Gabby shows her little friends TLC as she stitches something special--
and little ones everywhere will be inspired to create something, too!

Each Book  comes with a free pattern --
our price -- only $9.99!  (Suggested $10.95)  
(Patterns alone $3)

 Would you like to peek inside?

GABBY QUILTS FOR FRIENDS 


 GABBY'S WINTER JAMMIES


Thursday, September 24, 2015

Great Way to use Table Runners!

We have a new Table Runner pattern--"Sew Simple Table Runner" that we are including free in the kits.  A cute Hallmark Print is the centerpiece of the runner !
 
Other than the obvious use--On a Table--I tried it out in some fun, unexpected ways--


Perfect size as a WallHanging above a Twin Bed!


How about a pop of color on the back of a loveseat?


or a nice little Twin Bed Runner to add some holiday cheer to a guest room?


Thursday, September 17, 2015

Fall Fun-for-all Freebies!

There is plenty of time to get started on FALL DECORATING--Here are some great FREE tutorials.
Some are easy enough to do with children helping.
--Just Click on the Picture to get started!

http://zemphira.blogspot.com/2010/09/fabric-acorn-tutorial.html


Fabric Acorns 
by SARAH 
at Zemphira - Scatter Art

http://www.purlbee.com/2014/10/05/wool-patchwork-cat/

Fabric Cats 
by PURL SOHO
at Purl Bee
 

Made from wool in tutorial but would't it look cute in Primitive Black Prints at
The Dusty Attic?
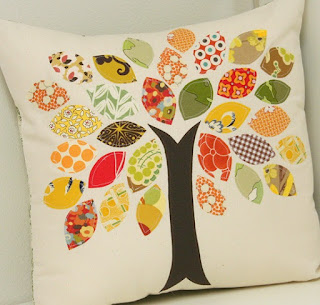
http://cluckclucksew.com/2009/10/tutorial-scrap-buster-fall-pillow.html

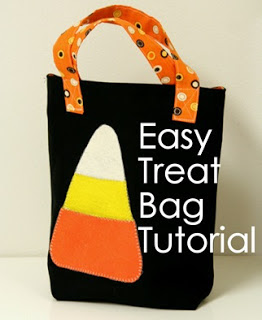
 2 Ideas from ALLISON
at Cluck Cluck Sew
Scrap Buster
LEAVES PILLOW 
and 
EASY TREAT BAG

    http://cluckclucksew.com/2009/10/easy-treattote-bag-tutorial.html


FABRIC PUMPKINS 
by Lindsay and Mary
at CRAFT BUDS

 http://www.craftbuds.com/fabric-pumpkins-tutorial/


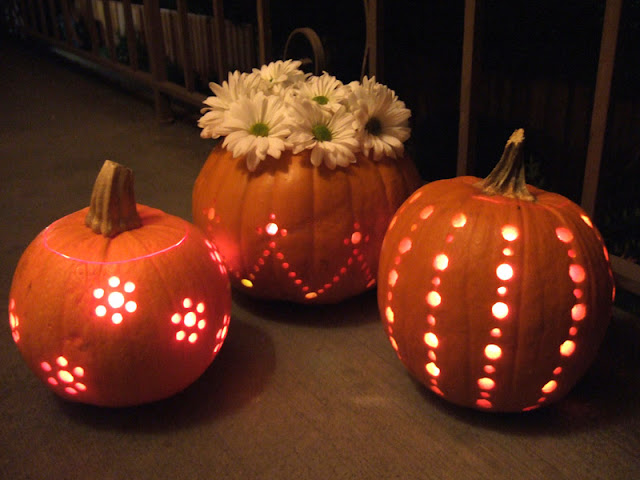
  Here's a lovely way to "carve" your REAL PUMPKINS 
(with an electric DRILL--(That's Right!)
from MONICA at Crafty Nest
http://www.craftynest.com/2008/10/pumpkins-carved-with-a-drill/

Thursday, September 10, 2015

Charmed, I'm sure!


    We have a lot of fun with these little metal charms--the connecting rings and little lobster clasp are available, too-- so it's not just about sewing them onto something--ALTHOUGH they do look adorable as mini ornaments on our Christmas Star--

We put silver on the bright tree and gold stars or jingle bells on the traditional tree. Kits are just 13.99!

NEED IDEAS?

Thursday, September 3, 2015

Oh Yes We Do Too Have Thimbleberries...

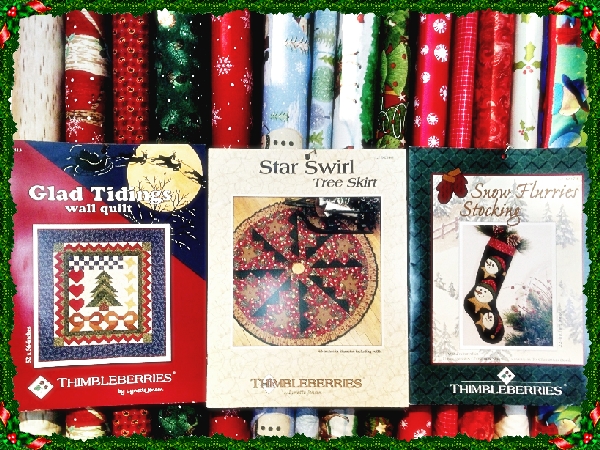
 INSTOCK Thimbleberries Christmas Patterns

There's plenty of time to finish any one of these great projects for Christmas...Quilts, Wallhangings, Pillow Pals, Stockings, and even a Tree Skirt! 
(A little bigger PIC when you CLICK on the picture!)


THIMBLEBERRIES' aren't just for Thimbleberries!
 All these projects shine with our other Christmas  fabrics...
Snowmen, trees, owls, snowflakes, holly...


...pointsettias with shiny gold or yuletide traditional.


Of Course, we also love the warm and cozy look of Thimbleberries' patterns made with Thimbleberries' fabrics!

We have a nice selection of Thimbleberries blues and autumn colors, too!

Wednesday, April 29, 2015

Great Gifts from SCRAPS!

Hello Hello!
  Not long ago we shared our own tutorial for a cute MugMat that makes a nice little gift--and before that a tutorial for a covered Belt (we have the belt webbing here at the shop!) 

   Just in time for Mother's Day and Graduations--I found a wonderful Compilation of Gift Ideas at "Flamingo Toes" You should really check this list out! 
A clever idea on the list is this "Hoop Pockets" from Amy Friend at "During Quiet Time" ...And we have a large selection of Embroidery hoops in many sizes here at The Dusty Attic!  Click on the picture below to travel over to "Flamingo Toes" and check out her pics and links to 25 great projects!


http://www.flamingotoes.com/2014/11/25-colorful-scrap-fabric-gift-ideas/

Wednesday, March 25, 2015

3 minute NO SEW Pillow Cover!

Brighten your bed or sofa this Spring with new pillow covers! 
New Pillow Covers!  NO ZIPPER!  NO PIPING!  NO SEW!
When ready for a change--just untie your fabric and make something like a totebag, apron or our GIFTBAG
I discovered this video a few days ago...Maybe its new to some of you, too!   I tried it on 2 different pillows--watch the video and read below for some helpful information.


How much fabric?
32" square will cover a 16" pillow
36" square will cover a 18" pillow
40" square will cover a 20" pillow
 BUDGET PILLOWS FORMS
If you need a pillow to cover--an economical option (cheap)--
get the cheapest bed pillows you can find--
squish the batting to one end and cut off the fabric at the end so pillow is 18 inches long--baste open end closed--
this should make a pillow about 18 inches square!

Easy way to CUT a SQUARE
Fold fabric in half along length--
Then Fold across
measure equal distances and cut along open edges to make a square!

Thursday, February 26, 2015

a bit o' green stitchin' for ye


GREENS are the DEAL next week--
just $6.99 per yard
So...I traveled the Internet machine --looking for FREE and what I thought kinda nice projects for MARCH--specifically St. Patrick's Day--that could be finished in the "wink o' a leprechaun"!

Click each picture to go to tutorial!


http://www.pieceandquilt.com/2015/02/how-to-clover-quilt-block-tutorial.htmlNatalia Bonner's 12" shamrock block--just a few blocks would make a great table runner or throw--BONUS: She also gives directions for 18" and 24" BIG BLOCKS. JUST 1 Big Block with a Border makes a wall hanging or table topper. 
 

http://theinboxjaunt.com/2014/03/04/the-irish-chain-a-lucky-free-motion-quilt-tutorial/   


I love free motion quilting!  I can hardly wait to try Lori Kennedy's Irish Chain free motion stitching!


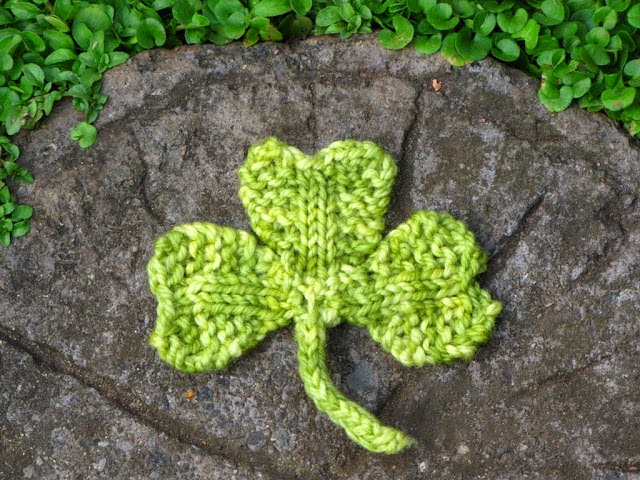
http://www.naturalsuburbia.com/2012/03/shamrock-clover-knitting-pattern-for-st.html 


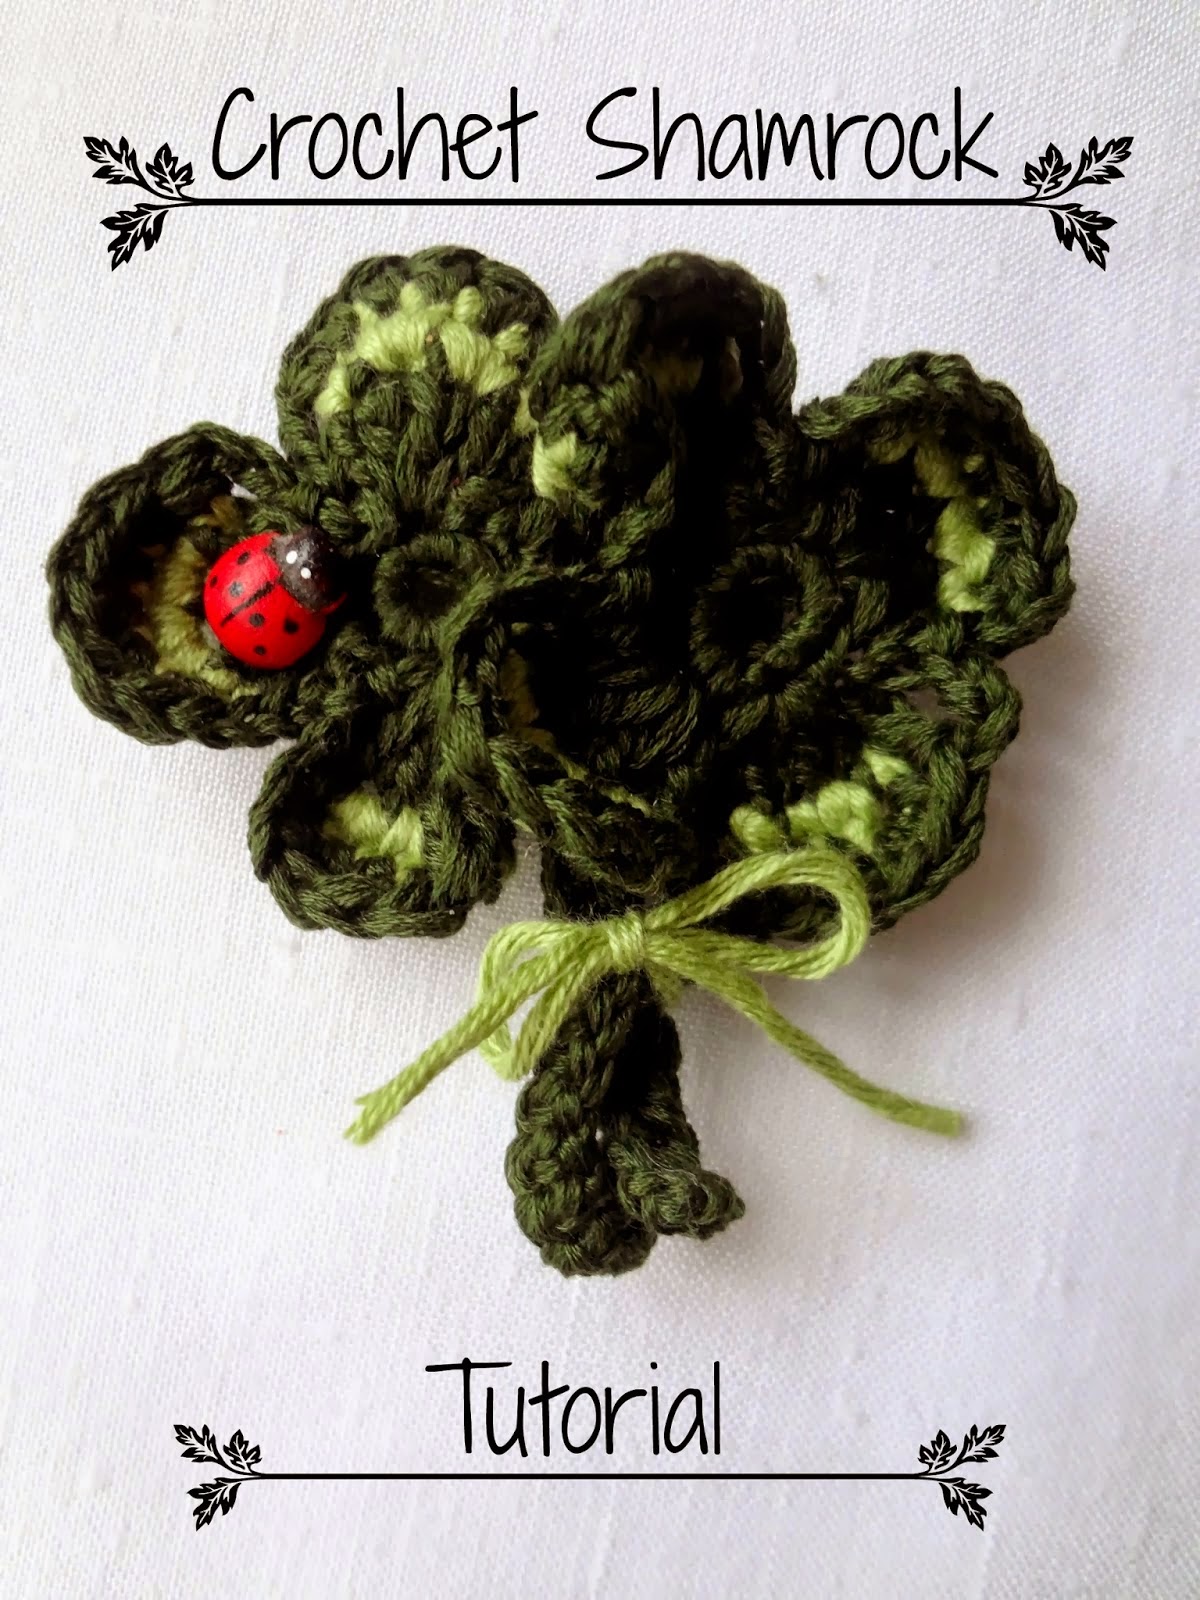
http://thelittletreasures.blogspot.com/2014/03/crochet-shamrock-tutorial-free.html 
Many of you also knit and crochet--Here's a couple of quick little shamrocks to embellish bigger projects or notecards or make them into a pin or barrette!


http://bbpaperandink.blogspot.com/2011/03/shamrock-barrette.html 
OK--In a hurry?  Here's one that will literally take you less than 2 minutes!--Add a little button or stitches for some pizzazz!


Thursday, January 29, 2015

Treat a Friend! Make Her a Mug Mat! Tutorial

These oversized coasters are easy to make! We actually have a SEW SIMPLY laminated pattern for this cute project in the shop but we want to treat you to a free tutorial today!  These would make special little "Valentines" for friends, mothers, sisters, teachers, even grandchildren! 
Project can use leftover Pre-Cuts from other, bigger projects!

WHAT YOU'LL NEED:

You can use leftover charms, jelly strips or cakes!

Fabric A:  5" Square (Charm)
Fabric B:  3 1/2" x 5" (from a charm)
Fabric C:  2 1/2 " x 8" (from a jelly)

Backing: 7 1/2" x 8 1/2" ( from a "cake")
Batting   7 1/2" x 8 1/2"

Here We Go!--All Seams 1/4"

  Stitch A-5" Square to B-3 1/2" x 5".   Press seam to side
 

  "Square Up" to 5" x 8"--1st Unit

Stitch C Strip to 1st Unit.   Press seam toward Strip.
"Square Up" to 7" x 8"

 Lay Down Batting, Then Backing--RIGHT SIDE UP
Lay Mat Top RIGHT SIDE DOWN
PIN Layers together **Backing is a little wider than top
     

Mark an opening along the side about 3" (for turning)
See Below
Mark 3" Opening

Be sure to backstitch at beginning and end of  stitching layers together to hold secure when turning right side out.
Beginning at one "Opening Mark" --Stitch 1/4" around the edge of the TOP (NOT the edge of the Backing).


Pivot at Corners and STOP at 2nd "Opening Mark" 
Be sure to STOP and leave opening Free!


 Trim Seam edges--I like to make the edges a little uneven for a smoother finish when turned.

Clip all Corners--BUT be careful not to cut stitching!


*Happy Hint for you!
(I just figured this out about 2 years ago--it only took me about 45 years of sewing!)
BEFORE you turn your "sandwich" right side out--press around stitching to set seams--THEN Press down the free edges of the opening to make a crease even with the stitching--do this on FRONT and BACK.
Pressing will make the edges stay inside and make stitching the opening easier--
Turn Mat RIGHT Side OUT--Almost finished!
Use a "Purple Thang" or Knitting Needle or Crochet Hook
 or whatever you can get your hands on -that's not too sharp- to poke the corners out and I like to run the point along the seams on the inside so they don't "fold in" when you press.
Press around edges
Slipstitch to close opening OR...
...stitch around very close to the edge!
Topstitch 1/4" around all seams 
OR PRACTICE Free Motion Quilting--woohoo! 


   We hope you'll enjoy making many merry MugMats!
If you'd like a printed pattern--a simple laminated Mug Mat pattern is available at the shop for just $3!
Happy Sewing!
Cindy