Showing posts with label free. Show all posts

Thursday, February 4, 2016

Just a little happy Valentine box!

There's an intriguing site called The Toymaker with all kinds of interesting little paper projects to cut and fold!
I found this little treat box...
http://www.thetoymaker.com/Holidays/Valentines/HeartBox.pdf
The site gives you a free PDF to print on card stock to make your own boxes!
 CLICK ON the picture above to get the free PDF!

Thursday, June 25, 2015

July 4th Freebies!

 Just in time for your 4th of July Picnic!
 A simple to make and very cute table runner-
we have dozens of red, white, or blue fabrics if you need to boost your stash!

tutorial    http://www.make-it-do.com/make-it/fireworks-in-the-kitchen/

 and ...
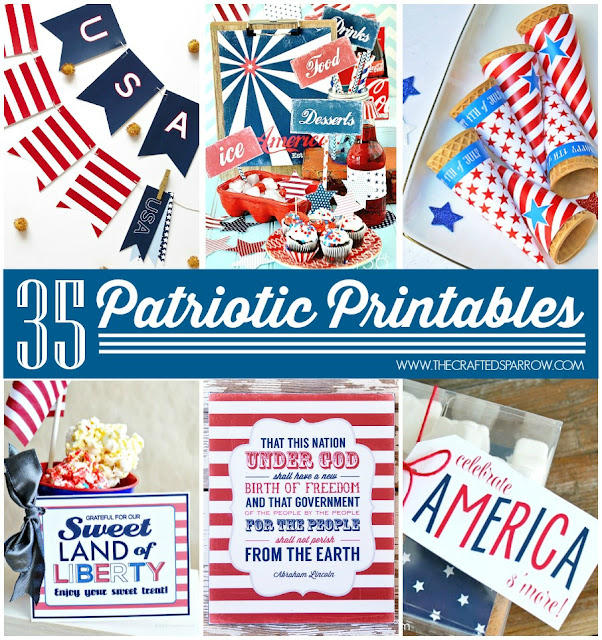
The Crafted Sparrow has put together great links 
for FREE Printables
ENJOY!


http://www.thecraftedsparrow.com/2014/06/35-free-patriotic-printables.html

  I especially like the sugar cone wraps and these prints!
Just CLICK the PIC above to find YOUR Favorite!


Wednesday, April 29, 2015

Great Gifts from SCRAPS!

Hello Hello!
  Not long ago we shared our own tutorial for a cute MugMat that makes a nice little gift--and before that a tutorial for a covered Belt (we have the belt webbing here at the shop!) 

   Just in time for Mother's Day and Graduations--I found a wonderful Compilation of Gift Ideas at "Flamingo Toes" You should really check this list out! 
A clever idea on the list is this "Hoop Pockets" from Amy Friend at "During Quiet Time" ...And we have a large selection of Embroidery hoops in many sizes here at The Dusty Attic!  Click on the picture below to travel over to "Flamingo Toes" and check out her pics and links to 25 great projects!


http://www.flamingotoes.com/2014/11/25-colorful-scrap-fabric-gift-ideas/

Thursday, April 23, 2015

FREE PRINTABLES! and Gift Ideas


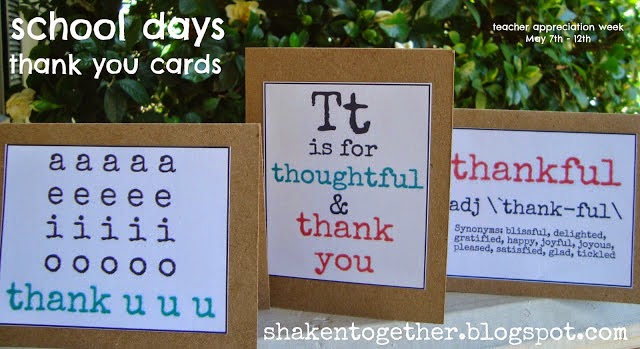
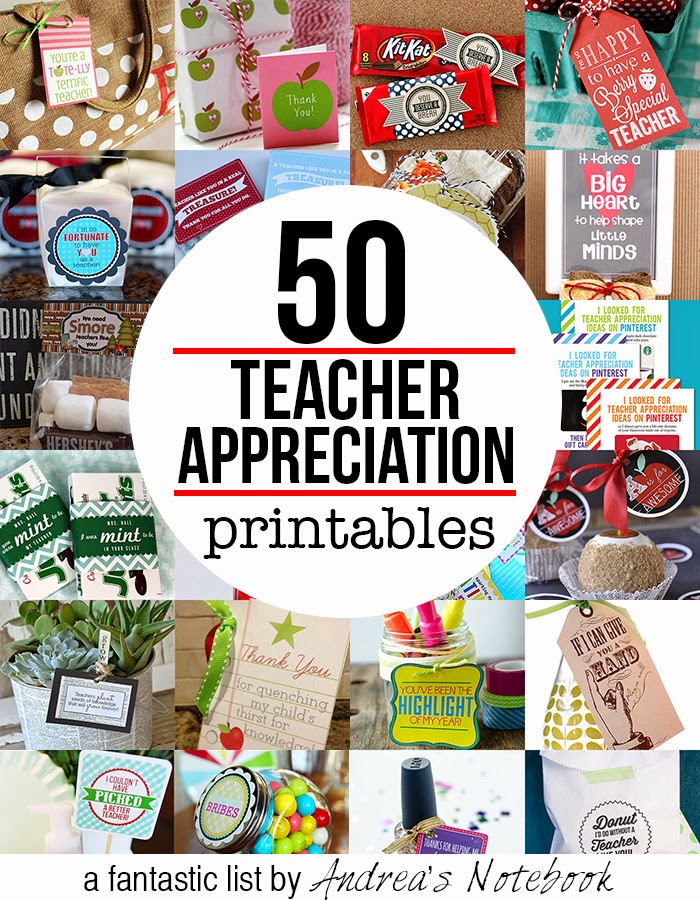
 --Is there a special teacher you'd like to surprise with a little "happy"?  Here are 3 sweet FREE Printables with projects for saying "Thank You" to teachers--(and I think some of the projects fit "Thank You's" for Moms and Dads, too!)   

Just Click on Picture to get printables and see more!

Jen at Four Mars and One Venus offers 2 versions of this "cookie tag".
http://www.fourmarrsonevenus.com/2012/11/smart-cookie-for-teachers-free-printable.html
Jamielyn at i heart naptime has entire project to download!
http://www.iheartnaptime.net/teachers-are-treasures-free-download/

Keri from shaken together shares a set of Thank You Cards to Download
FOR FREE!

http://www.shakentogetherlife.com/2012/04/create-this-teacher-appreciation-gift.html


All three projects I discovered on a wonderful storehouse of ideas called Andrea's Notebook!  This particular list she posted includes the cute printables showcased above--with 47 MORE links to gift ideas (Most very Simple) with FREE Printables that make the gift very fun and special--

to travel to Andrea's Notebook
for MORE great ideas!
http://andreasnotebook.com/teacher-appreciation-gift-printables/

Monday, March 16, 2015

Eggs 'n Bunnies to fill your Easter Baskets!


http://www.potholdersandpantyhose.com/2009/11/how-to-make-quilted-christmas-ornaments.html
One of our talented BusyBodies made a basketful of these no-sew  "Folded Star" Eggs using the tutorial for the Christmas Ornaments we posted in December--Just use an egg shaped styrofoam base and make a few adjustments as you go from end to middle
Here's the LINK again!

       
Peek-a-boo!  About 7 years ago I made a few of these"SECRET POCKET" Eggs from SewMamaSew for my grandbabies--Making more this year--very cute!
I cut the "pocket" section a little larger than the pattern--and you can use contrasting fabrics for the egg sections.
Find Pattern HERE!


Jenny B. Harris's ALLSORTS is always a joy to visit--Free Tutorial for the adorable "BUNNY PIN" CAN BE FOUND HERE!
This fluffy bunny is another free tutorial from Jenny--and of course--HERE'S THE LINK!


These funny bunnies take a little more time and effort: aren't they darling?
Find pattern and directions HERE!
At the bottom of the post there you will find a pattern and directions you can print out.


Make Amanda's soft little bunnies for soft little babies!

Click to see how!


All these bunnies must be hungry!  So we'd better find them some yummy carrots!
LOOK HERE!


Thursday, February 19, 2015

Shortcuts to Free Pattern Land!


 (If you clicked the last 2 before 5pm Thursday--Links were broken--should be all fixed now-- )

Traveling through the World Wide Web--I found a few pattern downloads for new fabrics we have at the shop--Just click on the "CLICK HERE"  for a shortcut to each pattern!
 Besties Forever and Snuggle Buddies are both from Quilting Treasures and coordinate fabrics are interchangeable--and of course we have many other fabrics in colors and patterns that would match well!


CLICK HERE   for Besties Forever pattern


2014/12/05/files/Besties_Forever_PINK_B2C.pdf


Well--time has run out for today--I hope to find more in the future
--Cindy--

Thursday, January 29, 2015

Treat a Friend! Make Her a Mug Mat! Tutorial

These oversized coasters are easy to make! We actually have a SEW SIMPLY laminated pattern for this cute project in the shop but we want to treat you to a free tutorial today!  These would make special little "Valentines" for friends, mothers, sisters, teachers, even grandchildren! 
Project can use leftover Pre-Cuts from other, bigger projects!

WHAT YOU'LL NEED:

You can use leftover charms, jelly strips or cakes!

Fabric A:  5" Square (Charm)
Fabric B:  3 1/2" x 5" (from a charm)
Fabric C:  2 1/2 " x 8" (from a jelly)

Backing: 7 1/2" x 8 1/2" ( from a "cake")
Batting   7 1/2" x 8 1/2"

Here We Go!--All Seams 1/4"

  Stitch A-5" Square to B-3 1/2" x 5".   Press seam to side
 

  "Square Up" to 5" x 8"--1st Unit

Stitch C Strip to 1st Unit.   Press seam toward Strip.
"Square Up" to 7" x 8"

 Lay Down Batting, Then Backing--RIGHT SIDE UP
Lay Mat Top RIGHT SIDE DOWN
PIN Layers together **Backing is a little wider than top
     

Mark an opening along the side about 3" (for turning)
See Below
Mark 3" Opening

Be sure to backstitch at beginning and end of  stitching layers together to hold secure when turning right side out.
Beginning at one "Opening Mark" --Stitch 1/4" around the edge of the TOP (NOT the edge of the Backing).


Pivot at Corners and STOP at 2nd "Opening Mark" 
Be sure to STOP and leave opening Free!


 Trim Seam edges--I like to make the edges a little uneven for a smoother finish when turned.

Clip all Corners--BUT be careful not to cut stitching!


*Happy Hint for you!
(I just figured this out about 2 years ago--it only took me about 45 years of sewing!)
BEFORE you turn your "sandwich" right side out--press around stitching to set seams--THEN Press down the free edges of the opening to make a crease even with the stitching--do this on FRONT and BACK.
Pressing will make the edges stay inside and make stitching the opening easier--
Turn Mat RIGHT Side OUT--Almost finished!
Use a "Purple Thang" or Knitting Needle or Crochet Hook
 or whatever you can get your hands on -that's not too sharp- to poke the corners out and I like to run the point along the seams on the inside so they don't "fold in" when you press.
Press around edges
Slipstitch to close opening OR...
...stitch around very close to the edge!
Topstitch 1/4" around all seams 
OR PRACTICE Free Motion Quilting--woohoo! 


   We hope you'll enjoy making many merry MugMats!
If you'd like a printed pattern--a simple laminated Mug Mat pattern is available at the shop for just $3!
Happy Sewing!
Cindy